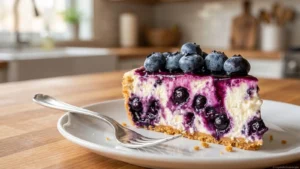
When it comes to dessert, few things can make your heart race and your taste buds dance quite like cheesecake cups. Imagine a creamy, dreamy bite that melts in your mouth, with flavors so rich you might just find yourself swooning. These little delights are like a party in a cup, perfect for any occasion, whether it’s a birthday bash or a cozy movie night at home.
I first stumbled upon cheesecake cups during a potluck when my friend Sarah brought them over. The moment I took my first bite, I was hooked! Now, I whip these up for everything from family gatherings to late-night snack attacks. With their charming appearance and delectable taste, you’ll want to make these irresistible treats again and again!
Why You'll Love This Recipe
- Cheesecake cups are super easy to prepare, making them perfect for both novice cooks and seasoned bakers alike.
- Each cup offers a delightful mix of creamy texture and sweet flavor that’s impossible to resist.
- Visually appealing in their cute little cups, they’re sure to impress your guests.
- Plus, they’re versatile enough to customize with different toppings or flavors based on your cravings.
I once made cheesecake cups for my niece’s birthday party, and the kids were buzzing about them all day!
Essential Ingredients
Here’s what you’ll need to make this delicious dish:
Cream Cheese: Use full-fat cream cheese for that rich and velvety texture that makes all the difference.
Sugar: Granulated sugar adds sweetness; feel free to adjust based on your taste preference.
Vanilla Extract: A splash of pure vanilla extract elevates the flavor profile immensely.
Sour Cream: Adds creaminess and a tangy kick that balances the sweetness perfectly.
Whipped Cream: Lighten up each cup with fluffy whipped cream; homemade is best if you have time!
Graham Cracker Crumbs: For that classic cheesecake crust flavor; toast them lightly for extra crunch.
Fresh Fruits or Toppings: Choose berries or chocolate shavings depending on your mood; they add color and fun!
The full ingredients list, including measurements, is provided in the recipe card directly below.
Let’s Make it Together
Prep Your Cups: Gather small dessert cups or mason jars; these will hold your delightful cheesecake mixture beautifully. You can even use clear plastic cups for casual get-togethers.
Mix the Filling: In a mixing bowl, beat together softened cream cheese and sugar until smooth and fluffy. This should take about 2-3 minutes; you’ll know it’s ready when it looks like clouds.
Add Flavorings: Stir in vanilla extract and sour cream until well combined. The mixture should be incredibly creamy with an aromatic scent wafting through the air—yum!
Fold in Whipped Cream: Gently fold in whipped cream until fully incorporated; this gives your cups an airy texture that melts in your mouth. Be careful not to deflate it too much!
Layer It Up!: Spoon or pipe the cheesecake mixture into prepared cups, filling them about three-quarters full. Then sprinkle graham cracker crumbs on top for that classic crust vibe.
Toppings Galore!: Top each cheesecake cup with fresh fruits or chocolate shavings before serving. Get creative—this is where you can really personalize each treat!
Now you’ve got some scrumptious cheesecake cups ready to enjoy! You can refrigerate them for an hour if you want them extra chilled, but who could wait?
These cheesecake cups are not only fun to make but also incredibly satisfying to eat! They transport me back to those carefree potluck days when dessert was always the star of the show. With every creamy spoonful, you’ll find joy and deliciousness wrapped up in one sweet package!
You Must Know
- Cheesecake cups are a delightful way to enjoy creamy cheesecake without the hassle of a whole cake.
- Perfect for parties or just satisfying your sweet tooth, they are easy to customize and serve.
- Get ready for an irresistible treat that will have everyone asking for seconds.
Perfecting the Cooking Process
Start by preparing the crust first. While it cools, whip up the cheesecake filling for perfect layering.
Add Your Touch
Feel free to swap out traditional flavors for fun twists like chocolate, caramel, or seasonal fruits.
Storing & Reheating

Store cheesecake cups in an airtight container in the fridge for up to four days. No reheating necessary; they’re best served chilled.
Chef's Helpful Tips
- To achieve perfectly smooth cheesecake filling, beat cream cheese at room temperature until fluffy before adding other ingredients.
- Avoid over-mixing after adding eggs to prevent cracks.
- Use a piping bag for easy filling and a professional look.
Remember when I first made cheesecake cups? My friends devoured them in minutes, claiming I should open a bakery! Their excitement made me realize how special these little desserts can be.
FAQ
How long do cheesecake cups need to chill?
Chill the cheesecake cups for at least two hours before serving for best flavor and texture.
Can I make these cheesecake cups dairy-free?
Yes! Substitute dairy ingredients with coconut cream and dairy-free cream cheese alternatives.
What’s the best way to decorate my cheesecake cups?
Top with fresh berries, whipped cream, or chocolate shavings for a stunning presentation.
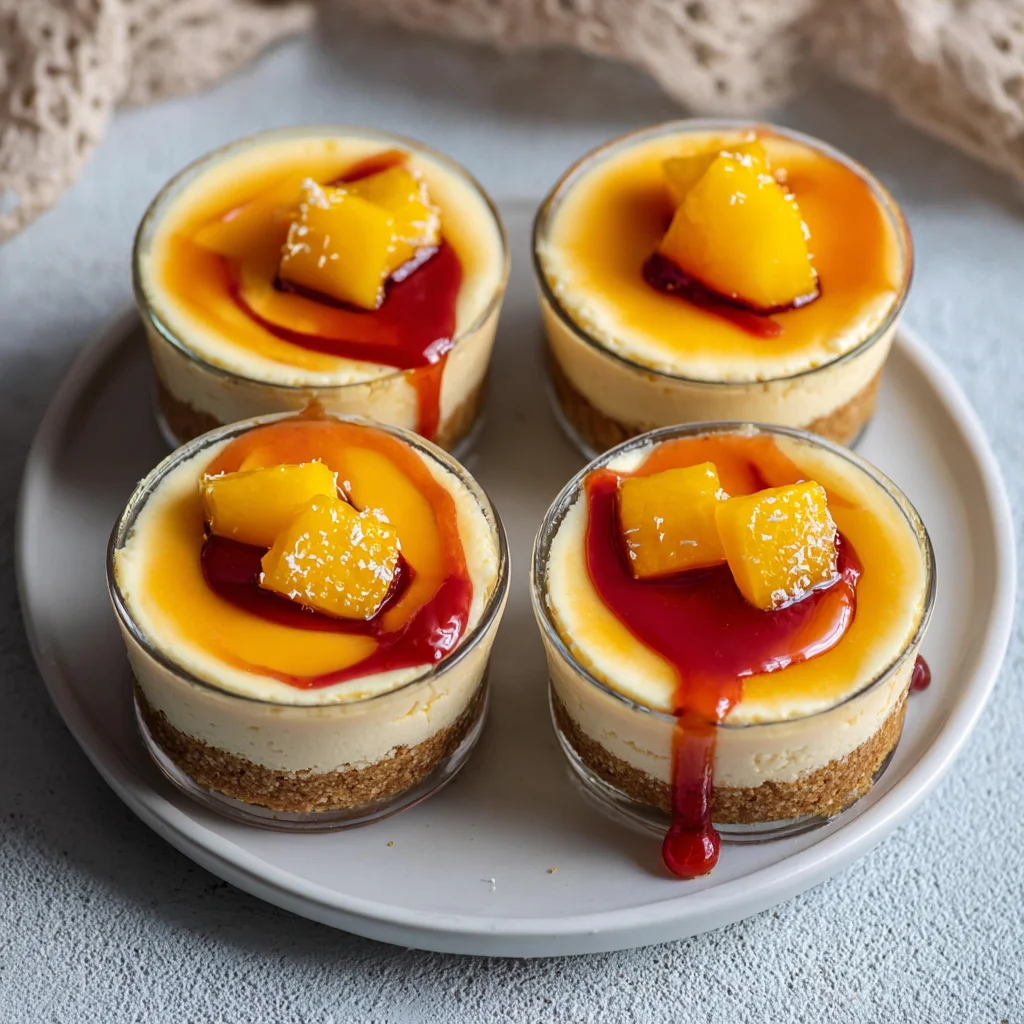
Cheesecake Cups
Ingredients
Method
- In a mixing bowl, combine graham cracker crumbs, sugar, and melted butter. Mix until well combined.
- Line a muffin tin with cupcake liners. Press the crust mixture into the bottom of each liner.
- Place the muffin tin in the refrigerator to set while preparing the filling.
- In a mixing bowl, beat the softened cream cheese until smooth.
- Add sugar, vanilla extract, and lemon juice (if using) to the cream cheese and mix until well combined.
- Gently fold in the whipped cream until fully incorporated.
- Spoon the cheesecake filling into each crust-lined cup, filling them to the top.
- Refrigerate for at least 45 minutes to set before serving.