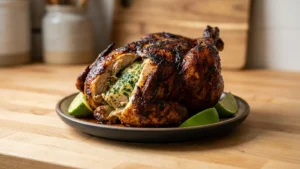
Imagine the tantalizing aroma of succulent chicken sizzling away, infused with the hoppy goodness of beer, creating a symphony of flavors that dance across your palate. With its crispy skin and juicy meat, beer can chicken is not just a meal; it’s a culinary adventure that’ll have your taste buds singing and your friends begging for seconds.
This delightful dish brings back memories of summer barbecues where laughter filled the air and everyone gathered around to witness the magic of a chicken standing proudly atop a can of beer. Perfect for backyard parties or cozy family dinners, this recipe promises to elevate any occasion into a flavor-packed celebration that you won’t soon forget. Get ready to experience an explosion of mouthwatering taste and unforgettable moments!
Why Is beer can chicken So Irresistibly Good?
Juicy and Flavorful: The upright position allows the chicken to cook evenly, locking in moisture for tender, juicy meat.
Simple Preparation: With just 15 minutes of prep time, you can set this dish to roast while you relax or entertain guests.
Crowd-Pleaser: Perfect for gatherings, this show-stopping recipe is sure to impress family and friends alike with its unique presentation and mouthwatering aroma.
Versatile Seasoning: Customize the spice mix to suit your taste—add heat with cayenne or keep it mild; the choice is yours!
Effortless Cooking: Roasting on a beer can infuses flavor directly into the meat, minimizing the need for constant monitoring. Enjoy perfectly cooked chicken every time!
beer can chicken Ingredients
For the Chicken
- 1 whole whole chicken (about 4-5 pounds) – Choose a fresh or thawed chicken for the juiciest results.
Beer:
- 1 can lager beer (any light lager works well) – The beer infuses moisture and flavor, enhancing the overall taste of your roasted chicken.
Spices:
- 2 tablespoons olive oil – This helps the spices adhere to the chicken and adds richness to the flavor.
- 1 tablespoon paprika – Adds a smoky sweetness and vibrant color to your delicious beer can chicken.
- 1 tablespoon garlic powder – Provides a robust garlic flavor that complements the spices beautifully.
- 1 tablespoon onion powder – Enhances savory notes and balances out the other spices perfectly.
- 1 teaspoon salt – Essential for bringing out all the flavors in your dish.
- 1 teaspoon black pepper – Adds a mild heat that rounds out the seasoning blend.
- 1 teaspoon cayenne pepper (optional for heat) – Use this if you like an extra kick in your beer can chicken!
Steps to Prepare Juicy Chicken
1. Preheat the grill to medium-high heat (about 375°F to 400°F). This temperature will ensure your chicken cooks evenly, creating that delicious crispy skin we all love.
2. Mix together 2 tablespoons of olive oil, 1 tablespoon paprika, 1 tablespoon garlic powder, 1 tablespoon onion powder, 1 teaspoon salt, 1 teaspoon black pepper, and optional 1 teaspoon cayenne pepper in a small bowl. This spice blend will elevate the flavors beautifully!
3. Rub the spice mixture all over the chicken (about 4-5 pounds), making sure to get under the skin for maximum flavor. You want every bite to burst with deliciousness!
4. Open the can of lager beer and take a few sips to make space or use a beer can opener. This step is crucial as it allows the moisture to infuse into your chicken while it cooks.
5. Insert the beer can into the cavity of the seasoned chicken, ensuring it stands upright. This unique cooking method keeps your chicken juicy and flavorful throughout.
6. Place the chicken on the grill, standing upright with the beer can inside. The direct heat will create that perfect crispy outer layer while keeping the meat tender.
7. Close the grill lid and cook for about 1.5 hours, or until the internal temperature reaches 165°F in the thickest part of the thigh. Keep an eye on it – you want golden-brown perfection!
8. Remove the chicken from the grill and let it rest for 10 minutes before carefully removing the beer can. This resting time allows juices to redistribute for even more moist meat.
9. Carve and serve your flavorful beer can chicken warm, savoring every juicy bite with family and friends!
Optional: For added flavor, squeeze fresh lemon juice over the chicken before serving.
Exact quantities are listed in the recipe card below.
Expert Tips for Savory Chicken
- Choose the Right Beer: A light lager enhances the flavor without overpowering it; avoid dark beers which can make the chicken taste bitter.
- Prep Under the Skin: For maximum flavor, rub the spice mixture directly under the skin of the chicken, not just on top. This ensures every bite is delicious!
- Watch Your Temperature: Use a meat thermometer to check for doneness; it’s crucial to hit 165°F in the thickest part of the thigh to avoid undercooking.
- Let It Rest: After grilling, allow the chicken to rest for 10 minutes before removing the beer can. This helps redistribute juices for a juicier result.
- Avoid Spilling: When inserting the beer can, ensure it’s upright and secure to prevent spillage during cooking. A stable setup leads to perfect beer can chicken every time!
Storing and Freezing Chicken Safely

Fridge: Store leftover beer can chicken in an airtight container for up to 3 days to maintain its juicy flavor and moisture.
Freezer: For longer storage, wrap the chicken tightly in plastic wrap and aluminum foil, then freeze for up to 3 months.
Reheating: To reheat, thaw overnight in the fridge, then warm in a preheated oven at 350°F (175°C) until heated through, about 20-25 minutes.
Room Temperature: Avoid leaving beer can chicken at room temperature for more than 2 hours to ensure food safety.
Creative Takes on Classic Chicken
Feel free to get creative and make this delightful dish your own with these fun twists!
- Herb-Infused: Add fresh herbs like rosemary or thyme to the beer can for an aromatic kick. The herbs release their oils during cooking, creating a fragrant infusion that elevates the flavor profile.
- Citrus Zest: Squeeze in some lemon or lime juice into the beer can for a zesty brightness. This citrus twist complements the chicken’s natural flavors, leaving you with a refreshing finish.
- Sweet & Spicy: Mix in a tablespoon of honey or brown sugar to the spice rub for a sweet contrast. This adds depth and creates a caramelized crust that’s simply irresistible.
- Smoky Flavor: Use smoked paprika instead of regular paprika for a deeper, smoky flavor. This variation will take your taste buds on a journey, reminiscent of summer barbecues.
- Spicy Kick: Increase the cayenne pepper to 2 teaspoons for those who love heat. Adjusting the spice level will add an exciting zing that keeps everyone reaching for more.
- Asian Twist: Incorporate soy sauce and ginger into the beer can mixture for an Asian-inspired flavor. This savory addition will surprise and delight with every juicy bite.
- Beer Alternatives: Swap the lager beer for cider or root beer for unique flavors. Each option brings its own character, making your roast distinct and memorable.
- Garlic Lovers: Double the garlic powder in your rub to amplify those savory notes. For true garlic enthusiasts, this creates an aromatic experience that fills your kitchen with warmth.
Make Ahead Options
Preparing beer can chicken is not only a fun and flavorful way to roast chicken but also perfect for meal prep. To save time, you can season the chicken with the spice mixture of olive oil, paprika, garlic powder, onion powder, salt, black pepper, and optional cayenne pepper up to 24 hours in advance. Simply rub the spices all over the chicken, including under the skin for an extra burst of flavor. After seasoning, store it covered in the refrigerator until you’re ready to grill. You can also open your lager beer and take a few sips to make space before inserting it into the cavity of the chicken. When you’re ready to cook, preheat your grill and follow the instructions for grilling—this method ensures your beer can chicken is juicy and packed with flavor while saving you precious time! Just remember to let it rest after cooking for about 10 minutes before serving for optimal tenderness.
Answers to Your Chicken Cooking Queries
What type of beer works best for beer can chicken?
Any light lager, such as a pilsner or pale ale, is perfect for this recipe. The flavor should be subtle enough not to overpower the chicken while still providing moisture and a hint of flavor during cooking.
Can I use different spices for the rub?
Absolutely! While the paprika, garlic powder, and onion powder provide a wonderful base, feel free to experiment with your favorites. Try adding herbs like thyme or rosemary, or even some lemon zest for a citrusy twist that complements the flavors beautifully.
How do I store leftovers from my beer can chicken?
Once you’ve enjoyed your delicious roast chicken, let any leftovers cool completely before storing them in an airtight container in the refrigerator. Properly stored, they’ll last for up to 3-4 days and can be repurposed in salads or sandwiches.
Can I freeze cooked beer can chicken?
Yes! After cooling your chicken completely, wrap it tightly in plastic wrap and then foil, or place it in a freezer-safe container. It can be frozen for up to 2-3 months. When ready to enjoy, thaw in the refrigerator overnight and reheat gently.
What if my chicken isn’t cooking evenly?
If you notice uneven cooking, check that your grill is properly preheated to medium-high heat (375°F to 400°F) before placing the chicken on it. Rotating the chicken halfway through cooking can also help achieve an even golden-brown skin while ensuring all parts reach that perfect internal temperature of 165°F.
How many servings does this recipe yield?
This beer can chicken recipe serves about 4 people. With its juicy meat and crispy skin, it’s sure to satisfy your family or guests—just perfect for dinner gatherings or weekend barbecues!
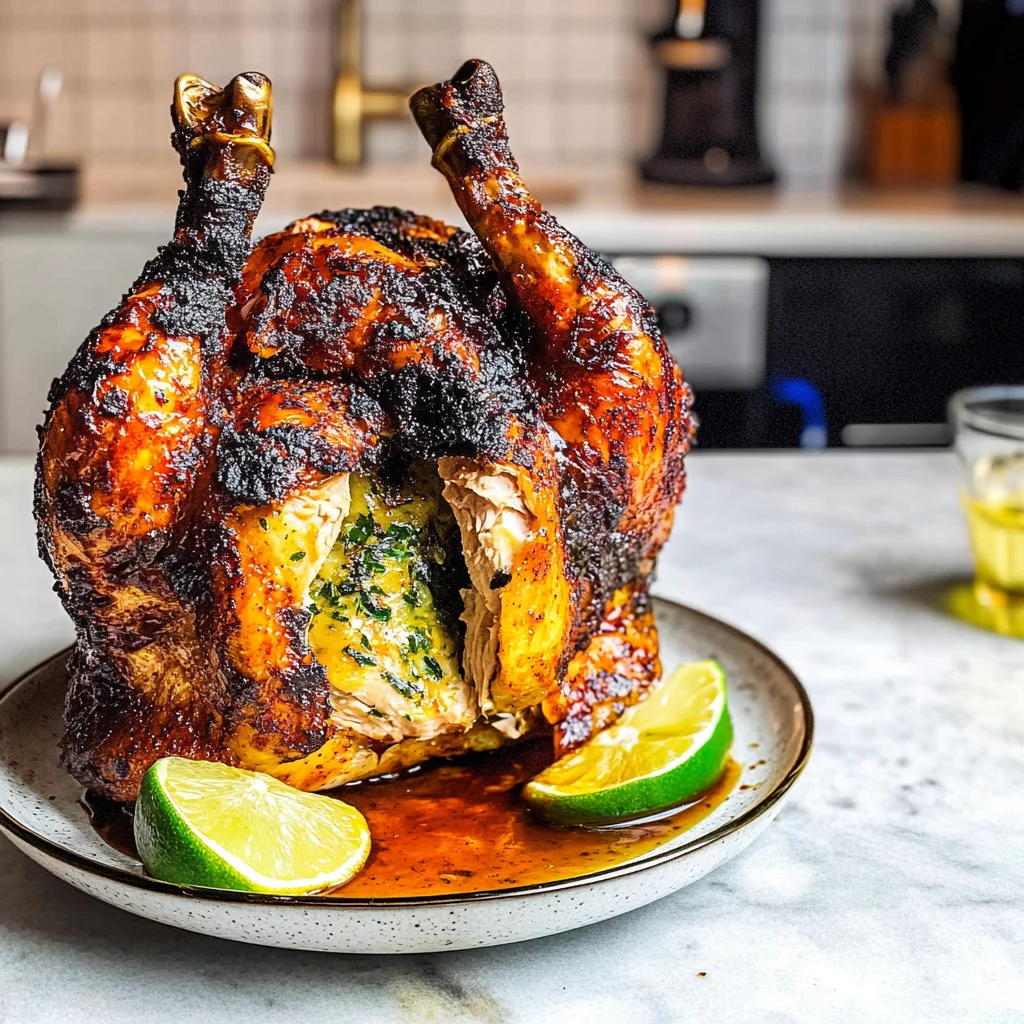
Beer Can Chicken
Ingredients
Method
- Preheat the grill to medium-high heat (about 375°F to 400°F).
- In a small bowl, mix together olive oil, paprika, garlic powder, onion powder, salt, black pepper, and cayenne pepper.
- Rub the spice mixture all over the chicken, including under the skin for more flavor.
- Open the can of beer and take a few sips to make space, or use a beer can opener.
- Insert the beer can into the cavity of the chicken, ensuring it stands upright.
- Place the chicken on the grill, standing upright with the beer can inside.
- Close the grill lid and cook for about 1.5 hours, or until the internal temperature reaches 165°F in the thickest part of the thigh.
- Remove the chicken from the grill and let it rest for 10 minutes before carefully removing the beer can.
- Carve and serve the chicken warm.
Nutrition
Notes
Tried this recipe?
Let us know how it was!More recipes to try
Pin This Recipe for Later
Love this recipe? Save this pin to your Pinterest board so you have it ready whenever you need it!