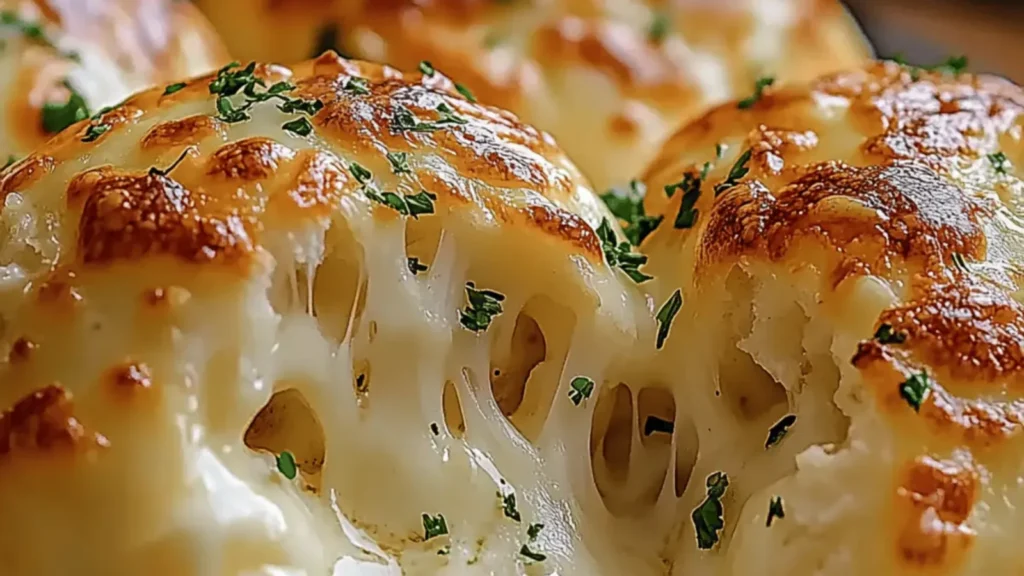
There’s something undeniably magical about sinking your teeth into a warm, pillowy Cheesy Garlic Butter Bomb. The moment you break one open, gooey mozzarella spills out, inviting you to dive right in. This is not just a snack; it’s an experience that fills your senses with buttery warmth and garlicky delight, leaving your taste buds dancing with joy! If you’ve ever wished that garlic bread could be a bit more *extra*, you’re in for a treat, my friend.
Picture this: you’re hosting a cozy gathering, and as you serve these cheesy delights, your friends’ faces light up with excitement. The aroma wafts through the room, and soon, the sound of crunching dough fills the air as everybody indulges. Whether it’s game night, a casual dinner with family, or simply a Tuesday evening craving, these Cheesy Garlic Butter Bombs will surely steal the spotlight from your other dishes!
Why You'll Love This Cheesy Garlic Butter Bombs
- This amazing Cheesy Garlic Butter Bombs offers more than just flavor; it makes meal prep a breeze.
- You can easily customize the ingredients based on what you have on hand.
- The vibrant colors and aromas make it visually stunning on any dinner table.
- Perfect for grilling but versatile enough for baking or pan-searing.
Ingredients for Cheesy Garlic Butter Bombs
Here’s what you’ll need to make this delicious Cheesy Garlic Butter Bombs:
1 can of refrigerated biscuit dough (8 biscuits) – This is the perfect shortcut to create a fluffy base for your bombs, making them quick and easy to prepare.
1 cup of shredded mozzarella cheese – The star of the show! Opt for fresh mozzarella for extra gooiness, or use low-moisture mozzarella for more convenience.
1/4 cup of unsalted butter, melted – This golden elixir adds richness and helps to give that golden crispiness when baked.
2 cloves of garlic, minced – Freshly minced garlic provides an aromatic punch that elevates the flavor profile of your bombs.
1 teaspoon Italian seasoning (optional) – A sprinkle of this mix brings an extra layer of flavor; you can substitute with your favorite herbs.
1 tablespoon fresh parsley, chopped (optional) – Adds a pop of color and freshness, turning your cheesy bombs into visual delights.
Salt and pepper, to taste – Essential for balancing out the flavors, so don’t skip this step!
How to Make Cheesy Garlic Butter Bombs
Follow these simple steps to prepare this delicious Cheesy Garlic Butter Bombs:
Step 1: Preheat Your Oven
Set your oven to 375°F (190°C). You want it nice and toasty when your Cheesy Garlic Butter Bombs are ready to go in! Line a baking sheet with parchment paper for easy clean-up and to prevent sticking.
Step 2: Prepare the Dough
Open that can of refrigerated biscuit dough and separate those delightful little biscuits. Roll each biscuit between your palms until it forms a small, cute ball; each will be a little pocket of flavor waiting to be unleashed.
Step 3: Add the Cheese
Gently flatten each biscuit ball. Now, here comes the fun part – place about 1 tablespoon of shredded mozzarella cheese in the center of each flattened biscuit. Don’t be stingy; this is where the magic happens!
Step 4: Seal Them Up
Carefully fold the edges of the dough over the cheese, pinching them together to seal in that glorious cheesy goodness. You want to ensure that the cheese doesn’t escape during baking, or you may end up with a cheesy mess (delicious, but messy!).
Step 5: Make the Garlic Butter
In a small bowl, melt the unsalted butter and stir in minced garlic and Italian seasoning, if you opted for it. This mixture is the secret sauce that takes your Cheesy Garlic Butter Bombs from good to *mind-blowingly awesome*.
Step 6: Bake Them Up
Place all your cheese-filled biscuit bombs onto the prepared baking sheet. Brush the tops generously with that heavenly garlic butter mixture. Bake in your preheated oven for about 12-15 minutes, giving them a chance to rise and become golden brown, allowing the cheese to melt into cheesy perfection.
Once they’re out of the oven, you might want to brush a little more garlic butter on top to truly elevate the experience and sprinkle with freshly chopped parsley for that gourmet touch. Serve them warm, and watch them disappear like magic!
As you share these Cheesy Garlic Butter Bombs with friends, you’ll find them returning for seconds (and maybe thirds). They’re perfect as party appetizers, game day snacks, or even just a delightful treat when you’re home and hungry.
Let the flavors unfold and the stories flow as everyone enjoys these delightful bites. Trust me; you’ll become the star of the show with your newfound culinary masterpiece! The only problem you’ll have is how to keep enough cheesy bombs for yourself amidst all those eager hands reaching for a taste. Enjoy the experience, and happy cooking!

You Must Know About Cheesy Garlic Butter Bombs
- This amazing Cheesy Garlic Butter Bombs offers more than just flavor; it makes meal prep a breeze.
- You can easily customize the ingredients based on what you have on hand.
- The vibrant colors and aromas make it visually stunning on any dinner table.
- Perfect for grilling but versatile enough for baking or pan-searing.
Mastering the Cooking Technique
The key to perfect Cheesy Garlic Butter Bombs is sequential preparation. Start by preheating the oven, then prepare your garlic butter while rolling the biscuit dough. Assemble the cheese-filled biscuits before brushing them with the buttery goodness for maximum flavor infusion.
Customize Your Flavor Profile
Feel free to swap mozzarella with cheddar or pepper jack for a zesty twist. Consider adding cooked spinach or bacon bits for a delightful surprise. Spice things up with a pinch of red pepper flakes or ranch seasoning if you’re feeling adventurous.
Proper Storage and Reheating Tips
Store leftover Cheesy Garlic Butter Bombs in an airtight container in the fridge for up to three days. When reheating, pop them in the oven at 350°F (175°C) for about 5-7 minutes to restore their crispy exterior and gooey center.
Chef's Helpful Tips for Cheesy Garlic Butter Bombs
- To make your Cheesy Garlic Butter Bombs unforgettable, follow these expert tips.
- Keep the process light and enjoyable, and don’t hesitate to experiment.
- These bombs are as approachable as they are delicious!
– Make sure to pinch the edges of the dough tightly to prevent any cheese from leaking out during baking.
– Always grate your own cheese for better melting results; pre-shredded cheese has anti-caking agents that can affect texture.
– Keep an eye on the oven during the last few minutes to ensure they don’t overbrown; golden is the goal!
Sometimes, when I whip up these Cheesy Garlic Butter Bombs, my friends jokingly call me a ‘cheese magician.’ They vanish in moments, and everyone asks for the ‘secret’ recipe.
Common Questions Answered
What is Cheesy Garlic Butter Bombs?
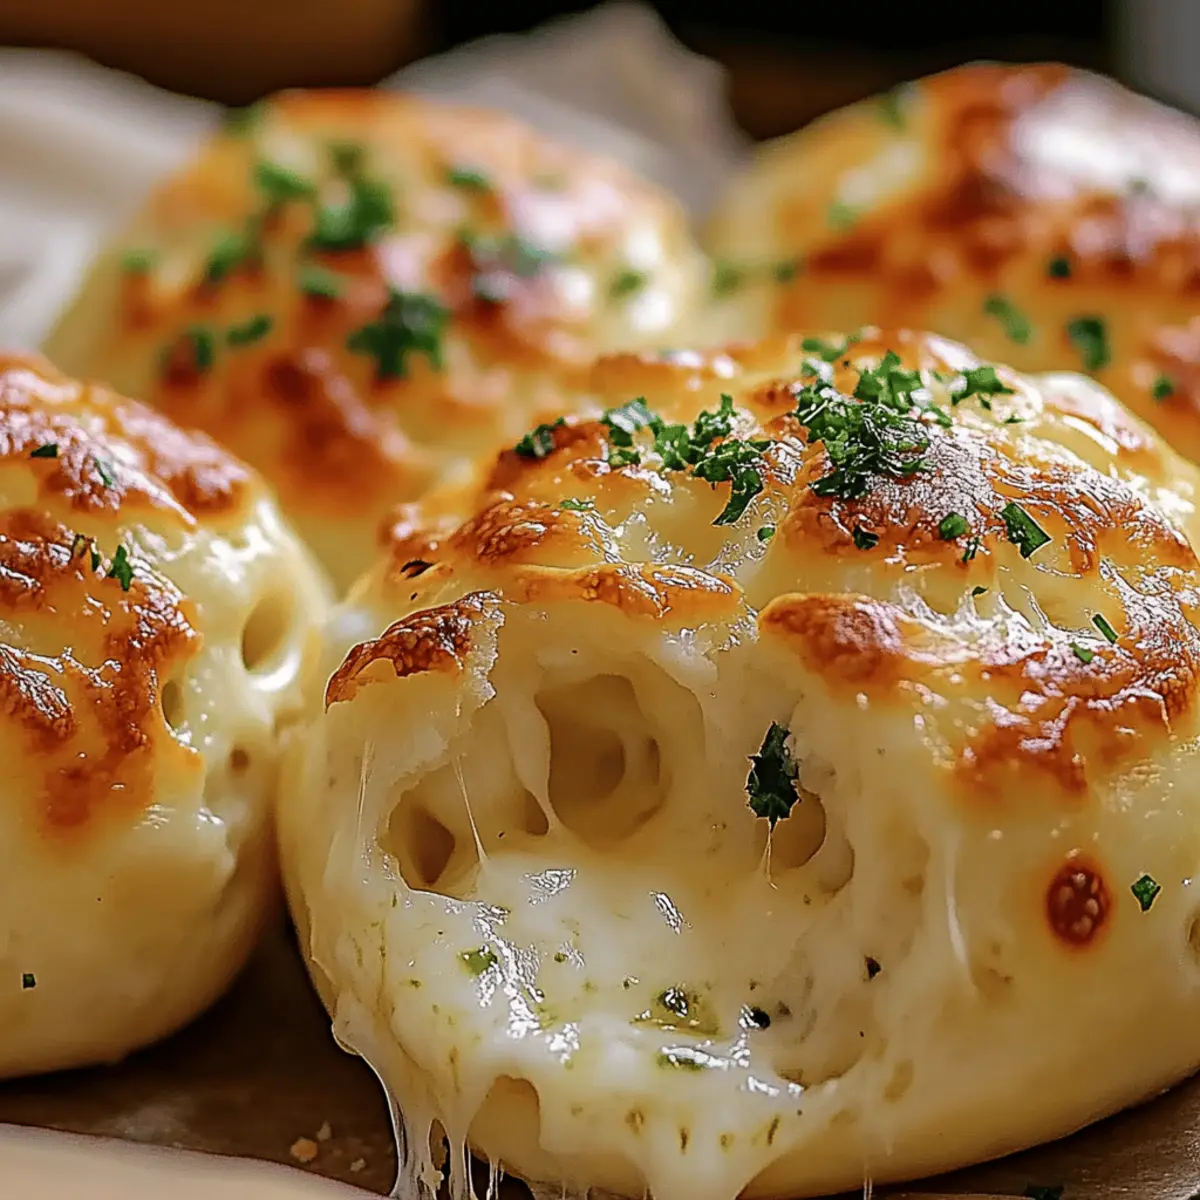
Cheesy Garlic Butter Bombs are delightful, doughy treats filled with gooey mozzarella and coated in a rich garlic butter sauce. They are easy to prepare using simple ingredients, making them perfect for appetizers, snacks, or even a side dish. The combination of a crispy outer layer and a melty cheese center creates an irresistible flavor explosion in every bite. You can customize them with various fillings or seasonings to suit your taste, ensuring everyone leaves the table satisfied.
How do I store leftover Cheesy Garlic Butter Bombs?
Leftover Cheesy Garlic Butter Bombs can be stored in an airtight container in the refrigerator for up to three days. To keep their deliciousness intact, place a paper towel inside the container to absorb excess moisture. When you are ready to enjoy them again, simply reheat them in the oven at 350°F (175°C) for about 5 to 7 minutes. This way, you’ll restore their crispy exterior while keeping the cheese center gooey and flavorful.
Can I customize my Cheesy Garlic Butter Bombs?
Absolutely! The beauty of Cheesy Garlic Butter Bombs lies in their versatility. You can swap the mozzarella cheese for other delicious options like cheddar, pepper jack, or feta. For additional flavors, consider adding ingredients such as cooked spinach, crumbled bacon, or herbs. Feel adventurous? Try adding a pinch of red pepper flakes for a spicy kick or ranch seasoning for a unique twist that can impress your guests.
Are Cheesy Garlic Butter Bombs kid-friendly?
Yes, Cheesy Garlic Butter Bombs are perfect for kids! Their fun, bite-sized nature makes them a hit with young eaters. Plus, they are customizable, allowing you to cater to picky eaters by filling them with different cheeses or even veggies they like. Whether served at parties, playdates, or family dinners, these cheesy treats are sure to be a crowd-pleaser and can make mealtime enjoyable and interactive for kids.
Final Thoughts and Takeaways
In conclusion, Cheesy Garlic Butter Bombs are a fantastic addition to any meal or gathering. They are quick and easy to make, taking only about 25 minutes from start to finish. You can customize the ingredients to fit your taste preferences, making them suitable for everyone at the table. These tasty bites promise gooey cheese and delicious garlic butter flavor, creating a delightful experience that will have everyone coming back for more. Don’t wait—make a batch today and enjoy the cheesy goodness!
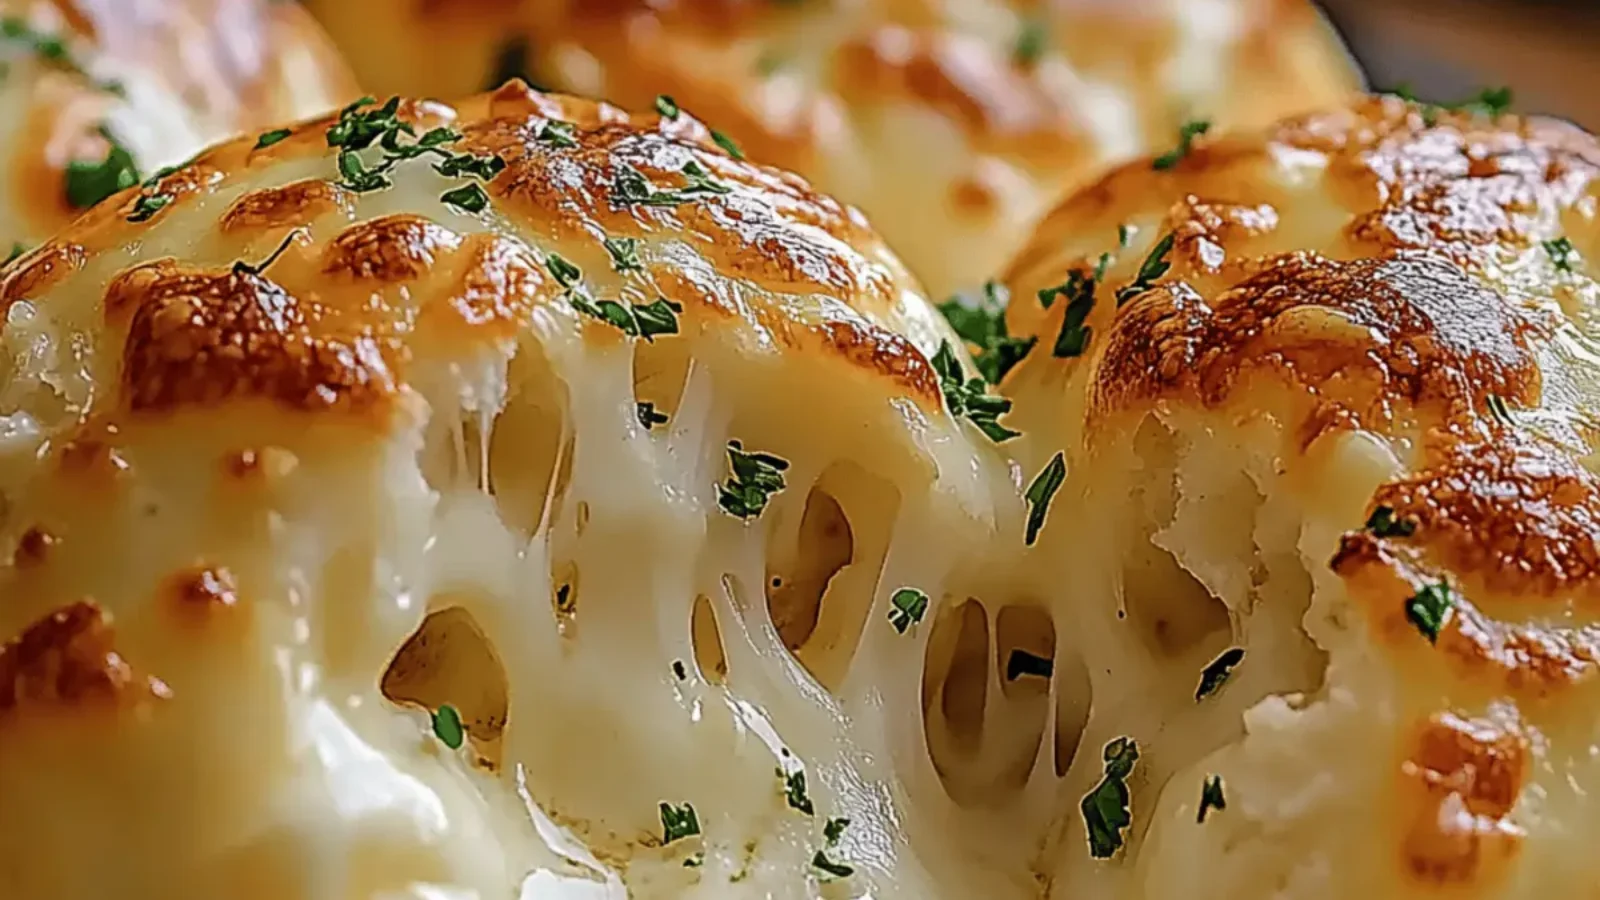
Garlic Butter Cheese Bombs
Ingredients
Equipment
Method
- Preheat your oven to 375°F (190°C) and line a baking sheet with parchment paper.
- Open the can of refrigerated biscuit dough and separate the biscuits. Roll each biscuit into a small ball.
- Flatten each biscuit slightly and place about 1 tablespoon of shredded mozzarella cheese in the center of each.
- Fold the edges of the dough over the cheese and pinch it together to seal.
- In a small bowl, melt the unsalted butter and stir in the minced garlic and Italian seasoning (if using).
- Place the cheese-filled biscuit bombs onto the baking sheet and brush the tops with the garlic butter mixture.
- Bake in the preheated oven for 12-15 minutes, or until the tops are golden brown and the cheese is melted.
- Remove from the oven, brush with any leftover garlic butter, and garnish with chopped parsley.